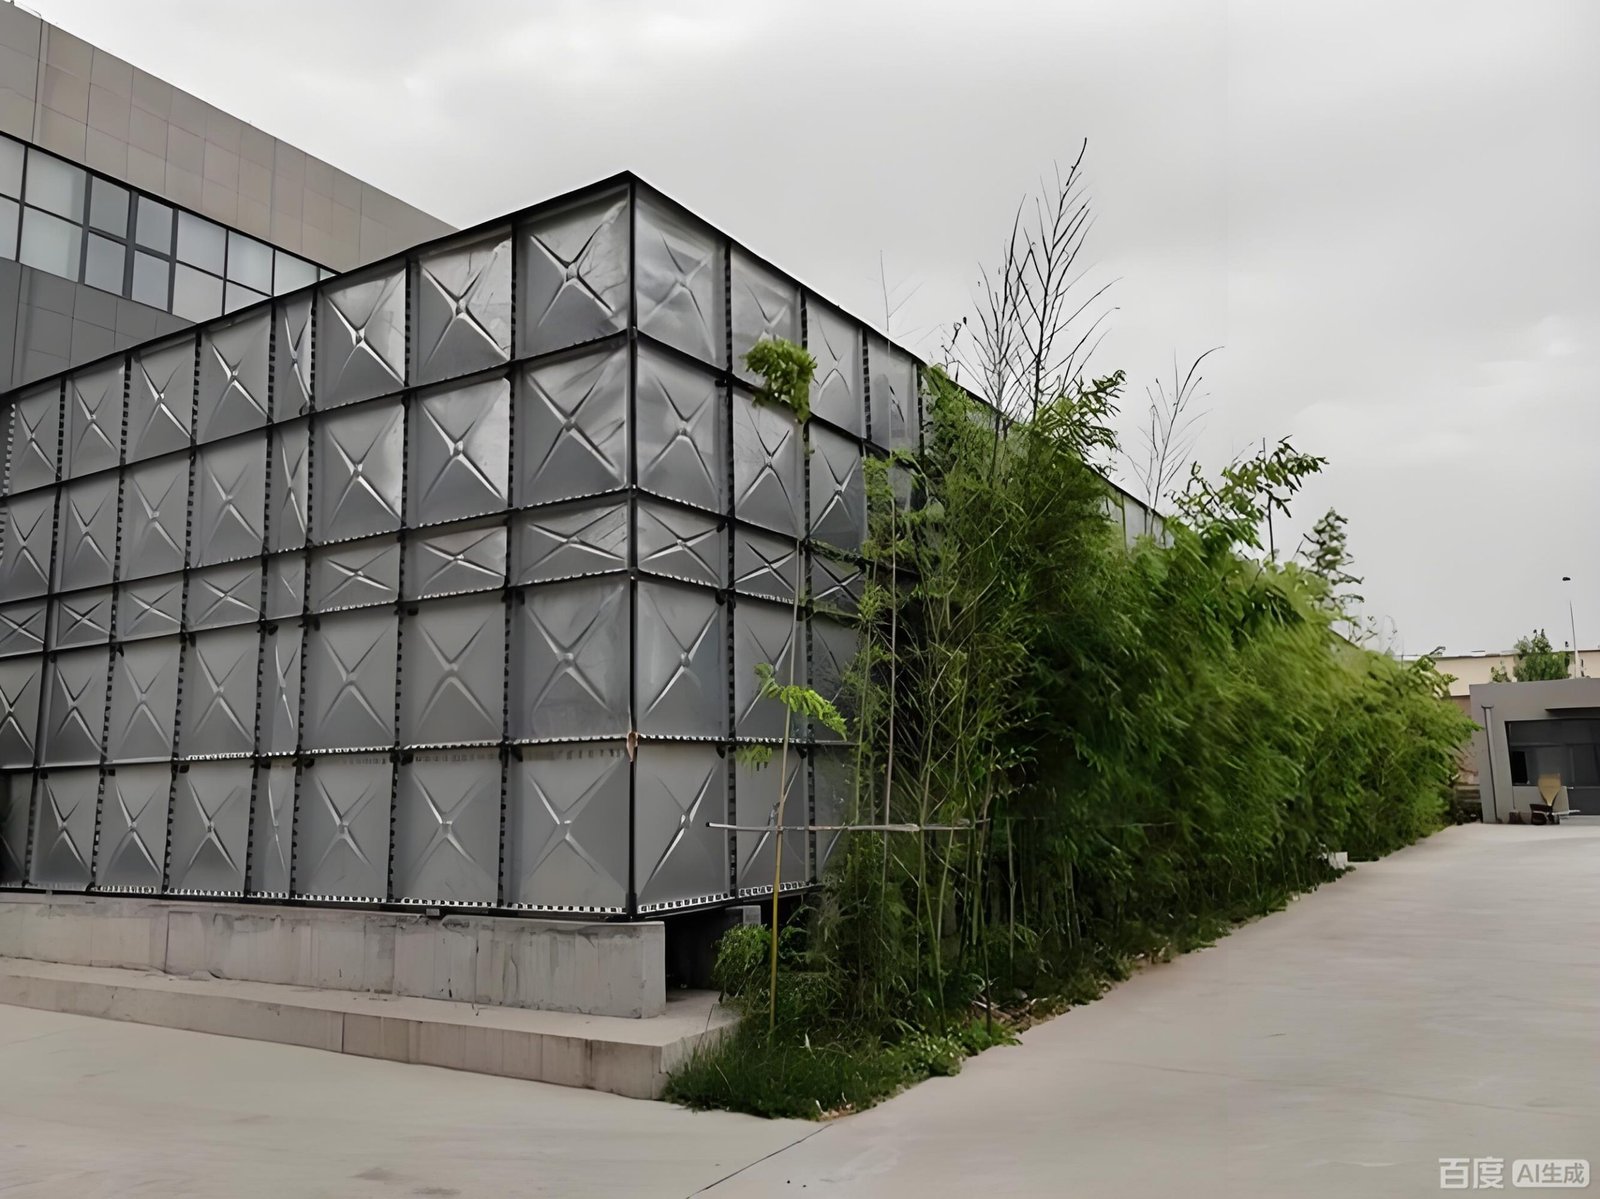
Installation Guide

Water Tank Installation & Setup

From pre‑installation checklists through commissioning — every step explained with ZENTVO engineering best practices.

01
Pre‑installation Checklist
Verify foundation readiness, confirm approved drawings, site access, and manpower before tank delivery arrives on site.
02
Step‑by‑Step Assembly
Follow ZENTVO's sequenced assembly instructions — from panel erection and liner placement through bolt torque values and sealant application.
03
Connection & Testing
Connect inlet/outlet flanges, overflow, drain, and level indicators. Perform controlled hydrostatic fill test and final visual inspection.
info@zentvo.com Response within 24 hours

Installation Guidelines

Your installation hub for safe, efficient, and compliant tank assembly.

Need project-specific support? Email info@zentvo.com — ZENTVO replies within 24 hours.

Overview

ZENTVO provides engineered water storage systems with project-specific drawings and configuration details.

This Installation Guidelines hub helps contractors and site teams prepare correctly, assemble safely, and reduce installation risks.

Important:

Always follow your approved ZENTVO CAD/GA drawings for footprint, height, flange locations, accessories, and foundation requirements. If site conditions change, contact ZENTVO before making on-site modifications.

Engineers checking installation guidelines on site

Who This Guide Is For

  • EPC contractors and site engineers
  • Installation teams and supervisors
  • Consultants and inspectors reviewing installation readiness
  • Facility owners preparing commissioning and maintenance
Site engineers and contractors reviewing plans
5-Minute Review
Quick Start

Critical Installation Checkpoints

Run through these five verification steps before starting any assembly work on site.

1
Verify Site Readiness
  • Unloading route and lifting plan confirmed
  • Sufficient working space for assembly and maintenance access
  • Safe working zone and PPE requirements in place
2
Verify Foundation / Base
  • Base dimensions match the approved drawings
  • Surface is flat, level, clean, and fully cured (per local requirements)
  • Drainage and access clearance prepared
3
Verify Shipment on Arrival
  • Items match the packing list
  • No visible damage on key components
  • Package labels recorded and photos taken (recommended)
4
Verify Connection Requirements
  • Flange standard confirmed (BS / ANSI / other)
  • Pipe sizes (DN/inch) and quantities confirmed
  • Flange positions match site piping plan
5
Confirm Drawings Before Assembly
  • Approved drawings reflect the latest site conditions
  • Any changes requested and confirmed by ZENTVO in advance
Delivery & Receiving

Best Practices on Arrival

Follow this receiving workflow to confirm completeness and protect traceability before any assembly begins.

Receiving Checklist
1
Compare all items with the packing list
2
Inspect packages, panels, and accessories for visible damage
3
Photograph package labels and key parts for traceability
4
Store components in a dry, safe area before installation

If Anything Is Missing or Damaged

  • Keep all packaging and labels intact
  • Take clear photos/video — both overall and close-up
  • Email info@zentvo.com with the packing list and photos for fast support
Warehouse receiving and inventory inspection
Concrete foundation and site preparation
Most Common Root Cause

Foundation Quick Rules

A correct foundation is the foundation of a leak-free installation.

ZENTVO Recommends
Flat and level surface across the full footprint
Correct dimensions and squareness per approved drawings
Adequate clearance for assembly and maintenance
Proper drainage and safe access around the tank area
If you are unsure whether the base is acceptable, send photos/videos and levelness readings to ZENTVO before assembly.
Assembly

Best Practices — What Matters Most

Focus on these three areas to ensure leak-free, structurally sound tank assembly.

Sealing and joint preparation
Sealing

Sealing & Joint Preparation

  • Keep sealing surfaces clean — no sand or debris
  • Install sealing material continuously without gaps
  • Do not stretch or misplace sealing material during assembly
Bolt tightening method
Key for Leak Prevention

Tightening Method

  • Align first, then tighten
  • Tighten bolts evenly using a cross pattern
  • Avoid over-tightening one side early
  • Re-check alignment and squareness during tightening
Internal components and accessories
If Included

Accessories & Internal Components

  • Install tie components, supports, and ladders per approved drawings
  • Mount indicators, partitions, and openings according to configuration list
  • Cross-reference each accessory against the approved drawing set
Connections & Piping

Avoid Stress on Tank

Proper connection planning protects tank integrity. Confirm standards, support piping independently, and verify alignment before tightening.

Typical Connections
Inlet
Outlet
Overflow
Drain
Connection Guidelines
Confirm flange standard and size before pipe installation
Use correct gaskets and clean sealing faces
Avoid pipe stress on tank connections — use proper supports and alignment
Confirm overflow height and drain routing before commissioning
If site piping differs from drawings, contact ZENTVO before modification.
Industrial piping and flange connections
Steel pipeline connections at industrial facility
Water tank inspection and commissioning
After Installation

Commissioning & Leak Test

Follow this recommended procedure to validate every joint and connection before handover.

Visual Inspection

Inspect all joints, connections, and sealing surfaces before filling

Controlled Filling

Fill gradually while monitoring all joints for signs of seepage

If Seepage Appears

Stop filling immediately — verify sealing placement and tightening method

Hold & Observe

After full filling, hold and observe per project requirements

Record Results

Document results for handover and project records (if required)

Must Follow
On-Site Safety

Installation Safety

Non-negotiable safety practices that apply to every installation site.

Follow PPE
Requirements

No Work Under
Suspended Loads

Safe Lifting
& Communication

Clean & Organized
Work Zone

Adequate Lighting
& Access Paths

Fast Answers On Site
Troubleshooting

Quick Troubleshooting

Common issues and what to do — without leaving the job site.

Flange Mismatch

Check standard (BS / ANSI / other), DN/inch size, bolt pattern, and orientation. Send photos and measurements to ZENTVO for verification.

Minor Leakage at Joints

Check alignment, sealing placement, and cross-pattern tightening. Ensure all sealing surfaces are completely clean before re-sealing.

Missing Parts

Cross-check the packing list, photograph all package labels, and email the missing list to info@zentvo.com for fast resolution.

Misalignment During Assembly

Re-check foundation levelness and assembly sequence. Align first — avoid early tightening on any single side.

Detailed Guides

Installation Resources

Open the relevant sub-guide below for full step-by-step procedures, checklists, and best practices.

Guide 01
Pre-Installation Checklist
Site access, lifting plan, receiving inspection, tools, manpower, and readiness checks.
View Checklist
Guide 02
Foundation & Site Preparation
Base requirements, leveling, clearance planning, and common foundation mistakes to avoid.
View Guidelines
Guide 03
Assembly Steps (Step-by-Step)
Clear installation sequence from positioning to final tightening, including sealing and tightening best practices.
View Steps
Guide 04
Piping, Flanges & Connections
Flange standards (BS/ANSI), typical connection planning, and pipe-stress prevention guidelines.
View Guidelines
Downloads

Installation Documents

Access site-ready documents to support your installation. Availability depends on system type and confirmed project scope.

Document availability varies by project. Contact ZENTVO if a specific document is not yet available for your order.
Installation Checklist
Pre-installation verification form
PDF
Installation Manual / Instructions
Full assembly and connection procedures
PDF
Packing List Reference
Sample format for receiving verification
Sample
O&M Guidance
Operation & maintenance reference (as required)
As Required
Warranty Statement
Terms and coverage details (as required)
As Required
Go to Installation Downloads
Technical documentation and manuals
Documents are provided based on your confirmed project scope and system configuration.
Get In Touch

Need Project-Specific
Support?

Whether you have a question about your installation, need technical clarification, or want to discuss project requirements — our engineering team is ready to help.

Email info@zentvo.com
Replies within 24 hours
Include with your email
Project Location & Application Country, city, and intended use
Capacity & Site Constraints Required volume, footprint, and height limit
Approved Drawing Reference Drawing number or revision ID
Photos / Videos Site conditions or issue documentation
Engineered Water Storage Systems — Project-Specific Support